
Wednesday, January 10, 2018
Tuesday, January 9, 2018


Monday, March 13, 2017


Tuesday, March 8, 2016
Bags! Boxed bags with Vinyl for the wet stuff and a reversible tote bag

Vinyl is not easy to sew with! But I did manage.


And this is a reversible tote!
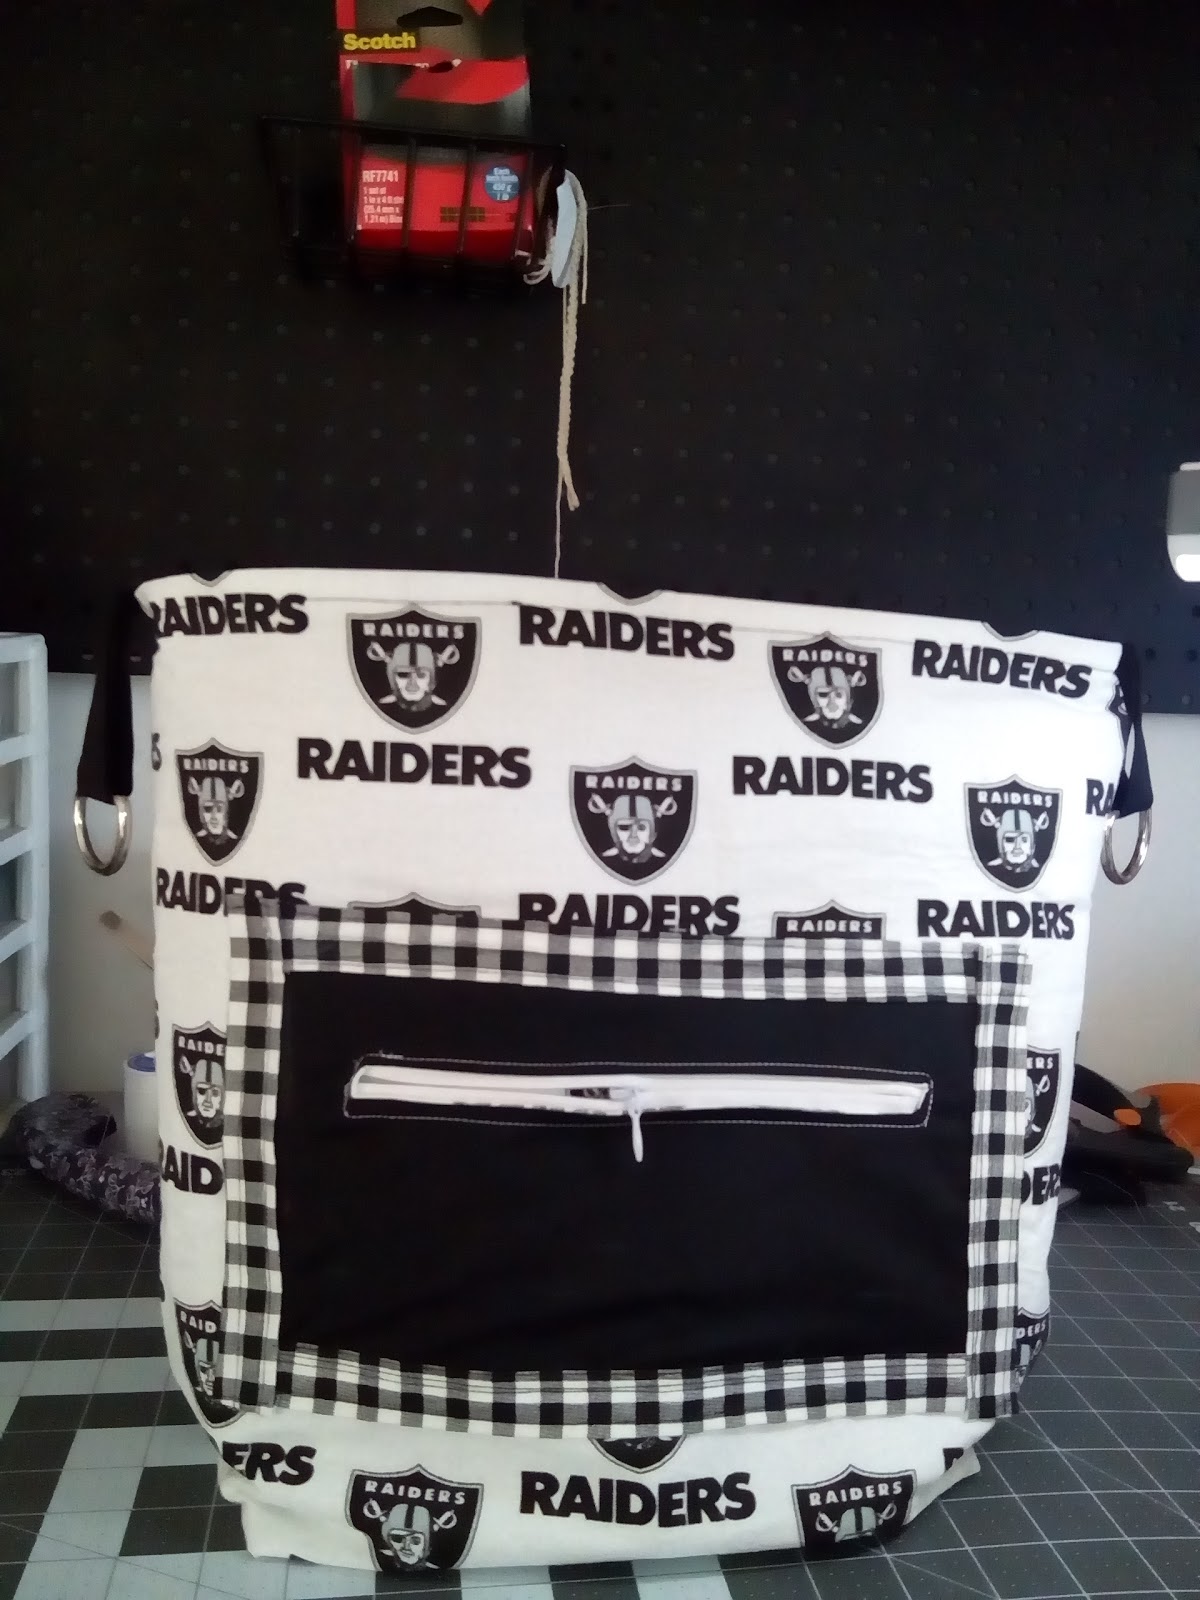
The couple shared the baby tote bag and one loves the Raiders while the other loves the Eagles!
This is probably one of the hardest things I've made yet!

Sunday, August 9, 2015

Sunday, September 28, 2014
This is the first dress I ever made..quite a learning experiment!
This dress has elastic neckline and wrists. I learned a lot here. I now know several ways how not to make a dress..haha!


Sunday, September 21, 2014
Halloween Is Almost Here!!!
This is what I made for my little granddaughter today! I want to make a couple more now- But I want those to be made with pockets!


Saturday, September 13, 2014
Sling Bags
What do you think? It was pretty simple to make. I'll show step by step tutorial if anyone wants me to, just ask.


Friday, August 8, 2014
And More Box Bags- just updated

A close friend got a few scarves from
comicon a year or so back-(2015) and I did a tribute
box bag!


And they even got their autographs! WOW!


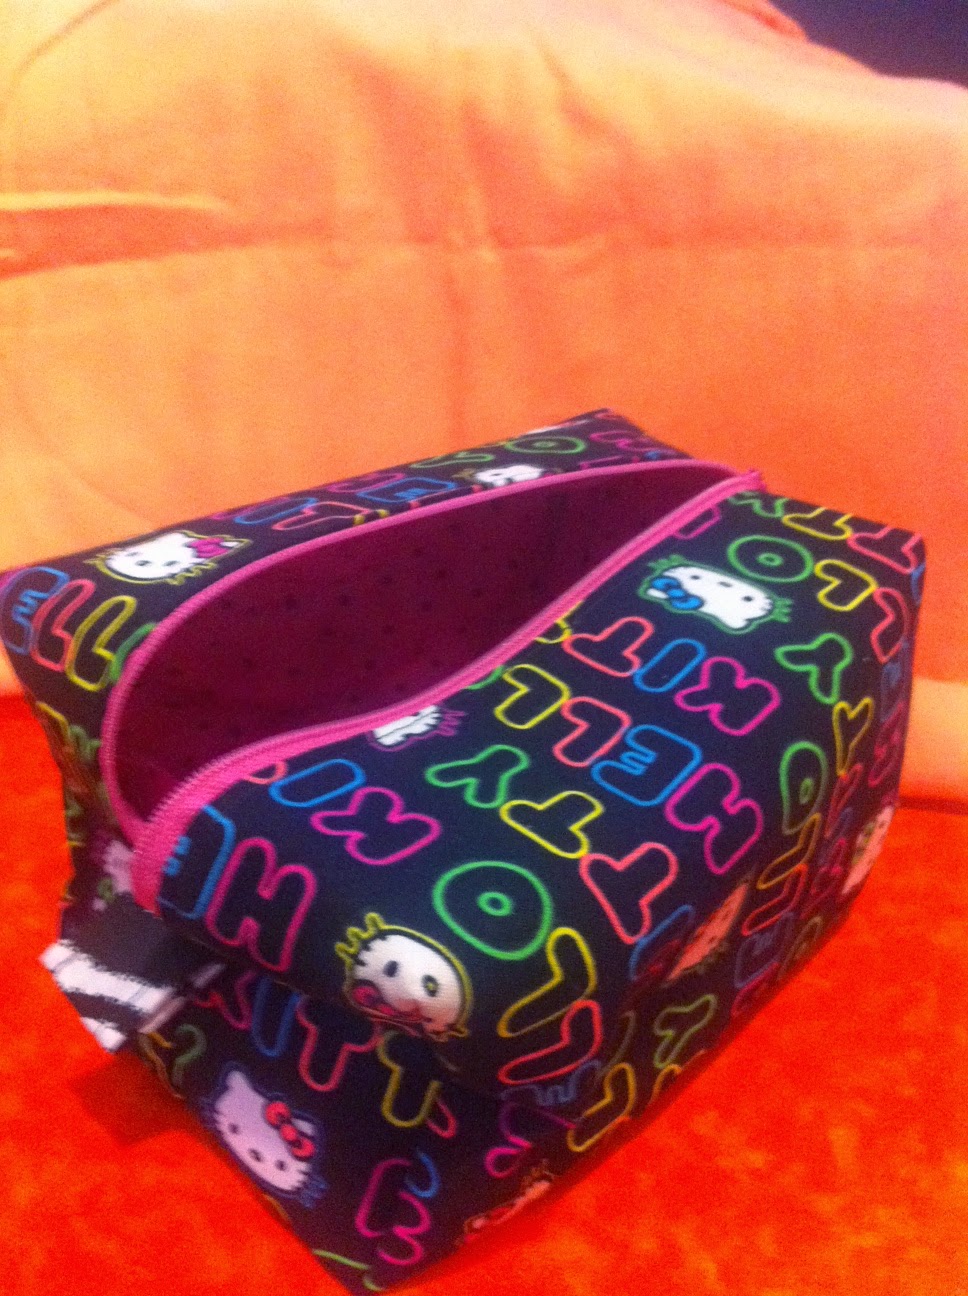


This pink one was made from scraps I had left over from a quilt I made last year! The quilt can be seen under the Quilts section
Thursday, August 7, 2014
Square Bottom Tote bag- with instructions on how I did it
For This Project:
You will need about 2 1/2 yards of fabric, a sewing machine, scissors, an 18" ruler or longer, fabric measuring tape, rotary cutter(if you like), a cutting mat, and pins.


 About 3x3 square gussets should be cut out at bottom of outer bag and lining to make the bottom square.


FOR THE ZIP : You'll need 4 strips total: 2.5" x the width of your lining. however, 2 of these will be cut 4 inches shorter than the width of the lining.
For the first 2 pieces:
Your zip will be longer than you need, we'll cut it later.
Take the 2 panels that are 4" shorter than the width of your lining (My lining is 19 inches wide, so my first 2 panels are 2.5"x 15".) Place these 2 panel strips of fabric, pretty sides facing together, sandwiching the zipper just between. Keep the zipper toggle facing up. Set the other 2 panels aside for now, you'll use them later.
 You can pin, and I usually do, but I find that pins displace the zip so I like basting down the long edge with the zipper. It helps to keep in place while sewing with a zipper foot (or standard foot). Lol! this is not as hard as it's sounding, I promise. :) Keep zipper open while sewing and move zipper toggle if you get close to it so it is easier to sew past it. After sewing together you can easily remove the basting stitches. If pins are used, remove as you sew.

 You need to find the center of fabric now: To find the center of your lining and zip, just fold in half and cut out a small notch or pin it. Now, get the longer panels we cut out earlier. These are 2.5" and as long as the width of the fabric, so they look like they don't belong, but trust me, they do-Lol! Now, let's find the center of these as well by folding in half and either pinning or cut out a small notch at the fold.

 After matching center of longer panels you cut out and your sewn zip panel to center of lining, pin in place to sew down the edge of the width of the lining. Here I use pins ;-)
 After you have sewn all pieces together your zip panel should look like this(see below). Your lining will have the right or good sides of fabric inside when unzipped. Next we attach the lining and zip panel with the newly longer attached panels to the outer bag.

 Now, let's sew up the gussets on the outer panel and the lining. We leave one gusset open on the lining however, for turning right side out later. Sew these by lining up the seams as shown below and while the fabric is inside out.


 Pin the lining with side seams aligned and then sew with a little over a 1/4 inch seam allowance. Do a little reverse stitch at the beginning and end of this area as this will be a place of stress for both the outer panel and the lining.

You will need about 2 1/2 yards of fabric, a sewing machine, scissors, an 18" ruler or longer, fabric measuring tape, rotary cutter(if you like), a cutting mat, and pins.
- 1 yard, or a little less for outer panels, depending on the size you make it.
- 1 1/2 yards for lining, zip panel and handles. I used 3 different fabrics so I mixed it up a bit.
- You will also need a long zipper, about 20-22 inches long(again, depending on the size you choose to go with). Look for a Nylon/Plastic type.
- 2 spools of thread. One of contrasting color and one that matches fabric of outer panels.
- You will also need about 1/4 yard of batting or less for handles.

You will need 2 outer fabric pieces. I used denim and fused a cute fabric on top(not necessary). You should have 2 pieces that are about 18-21"length X 17-20" wide( size is up to you)
LINING: Cut 2 pieces of contrasting fabric to the same dimensions you choose for the outer 2 pieces.


 About 3x3 square gussets should be cut out at bottom of outer bag and lining to make the bottom square.
The sides should be joined to match up seams (especially if you put something on the outside panels) and then sew inside out (good sides facing together) with a 1/2 inch seam allowance. Sew down the sides and along the bottom; do not sew the cut out gussets. The gussets will be sewn later.
FOR THE ZIP : You'll need 4 strips total: 2.5" x the width of your lining. however, 2 of these will be cut 4 inches shorter than the width of the lining.
For the first 2 pieces:
Your zip will be longer than you need, we'll cut it later.
Take the 2 panels that are 4" shorter than the width of your lining (My lining is 19 inches wide, so my first 2 panels are 2.5"x 15".) Place these 2 panel strips of fabric, pretty sides facing together, sandwiching the zipper just between. Keep the zipper toggle facing up. Set the other 2 panels aside for now, you'll use them later.
You can pin, and I usually do, but I find that pins displace the zip so I like basting down the long edge with the zipper. It helps to keep in place while sewing with a zipper foot (or standard foot). Lol! this is not as hard as it's sounding, I promise. :) Keep zipper open while sewing and move zipper toggle if you get close to it so it is easier to sew past it. After sewing together you can easily remove the basting stitches. If pins are used, remove as you sew.
Then for a good finished look, top stitch(as seen above) only the three sides of he panels after sewing together and pressing with iron. Do not sew the raw edges along the length of the zip; you will add the panels we cut here to attach to lining.
You need to find the center of fabric now: To find the center of your lining and zip, just fold in half and cut out a small notch or pin it. Now, get the longer panels we cut out earlier. These are 2.5" and as long as the width of the fabric, so they look like they don't belong, but trust me, they do-Lol! Now, let's find the center of these as well by folding in half and either pinning or cut out a small notch at the fold. After matching center of longer panels you cut out and your sewn zip panel to center of lining, pin in place to sew down the edge of the width of the lining. Here I use pins ;-) Pin the lining with side seams aligned and then sew with a little over a 1/4 inch seam allowance. Do a little reverse stitch at the beginning and end of this area as this will be a place of stress for both the outer panel and the lining.
Subscribe to:
Posts (Atom)